The 3 Needle Inspection Steps Every PMU Artist Should Know (Before You Tattoo!)
Before you dip into that pigment, you better know what’s at the end of your machine. Damaged, bent, or dirty needles can compromise your results—and your reputation. Whether you’re using a jeweler's loupe or a pair of wearable loupes, knowing exactly what to look for when inspecting your needles is non-negotiable.
Here are 3 things every PMU artist should check before letting that needle touch skin.
1. Check for Bends at the Needle Tip
Keyword: bent PMU needle, damaged needle tip
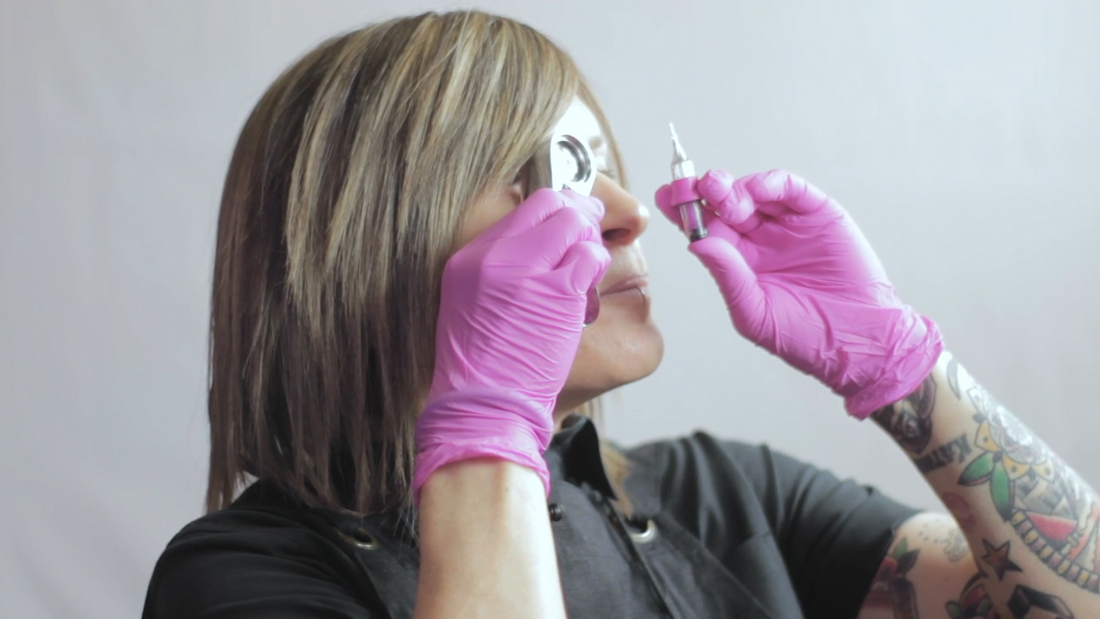
Bent needles aren’t always visible to the naked eye—which is exactly why we use magnification. 👀 Eye-louping each and every needle is one of the most important safety practices you can build into your routine.
Tattooing with a bent or damaged needle can cause:
🩷 Excess trauma to the skin
🩷 Uneven pigment saturation
🩷 Poor healed results
🩷 Long-term scarring
Pro tip: If it’s not straight, it doesn’t skate. Toss it and move on.

2. Inspect for Foreign Objects, Fuzz, or Debris
Keyword: clean PMU needle, foreign debris in tattoo needle
This one’s a biggie. If there’s any fuzz, debris, or foreign particles on your needle—even tiny fibers from packaging—it’s a hard no. Implanting foreign material into the skin can cause:
🩷 Infections
🩷 Inflammation
🩷 Poor healing outcomes
If you see anything unusual? Toss it. Never risk your client’s health (or your career).

3. Look for Smooth, Polished Needles—Not Textured Ones
Keyword: polished PMU needle, tattoo needle friction
A smooth, polished needle = less friction = better results.
Textured or unpolished needles create more drag in the skin. And more drag means more trauma. For facial tattooing especially, you want:
🩷 A long, smooth taper
🩷 A highly polished finish
🩷 Minimal friction with maximum pigment delivery
Avoid blunt tapers or rough textures—they can punch big holes and leave you with excessive trauma and unpredictable healing.
Why You Should Always Inspect Every Needle
Let’s be real—imperfections happen. Even the best brands, even the best batches. That’s why you need to inspect every single needle before you tattoo. Period.
Your clients trust you. And your healed results depend on it.
If you're still not sure what you're looking for—or need a little more education on needle theory—take my Needle & The Prick® Course. It’s a full breakdown on needle configurations, how they behave, and what to look for under magnification.

FAQ: PMU Needle Inspection
Q: Do I need to inspect every single needle?
A: Yes. Every single one. Even brand new, sterile-packed needles can have imperfections.
Q: What magnification do you recommend for inspection?
A: A 10x jeweler’s loupe or a good pair of wearable loupes is perfect.
Q: Can I still use a needle if only one pin is bent?
A: Nope. A single bent pin can still cause trauma. Always discard it.
Q: What type of taper should I use for brows or lips?
A: For PMU, a smooth, long taper gives you the best control, pigment flow, and healed results.
Want more tips like this? Check out our other training blogs or head over to Girlz Ink Academy for in-depth PMU courses taught by industry pros.
Happy tattooing, Girlz! 💉💋